Make-Up Tips: How to Master the Basics of Eye Make-up?
Eye make-up is undoubtedly the most basic yet most challenging hurdle to encounter in the world of make-up. After all, no two eye shapes are the same, and whenever the question of how to apply eye make-up comes up, it is a no-size-fits-all answer.
However, like all things in make-up, there are no rules but there are a few basic theories that one can follow to ensure flawless eye make-up applications.
1. Eye primer is a must
Eye primers can easily be disregarded as a bonus product that isn’t necessary, but if producing eye-catching make-up looks is your goal, you most definitely need an eye primer. It helps to create a smooth surface, evens out the skin tone and allows for the eyeshadow to stick and stay on longer.
2. Start from the lightest to the darkest shade
Now comes the part where one would ask how to apply eyeshadow. For a basic eye make-up, take your eyeshadow brush and apply the lightest shade all over the eye socket as a base. This would also help with blendability.
From here, you have the option of leaving it to even out the skin tone around your eyes, or building it up to a more defined look, or even a smokey eye look. Load the eyeshadow brush with a mid-tone colour and apply it above the crease. For those who have monolids or prefer a more feline look, blend this colour towards the brow bone for an elongated finish. You can also choose to add more drama and intensity with darker colours, or define the socket more with a darker shade.
Don’t forget to also shade your undereyes by blending the mid-tone colour, and also a darker colour to frame the eyes.
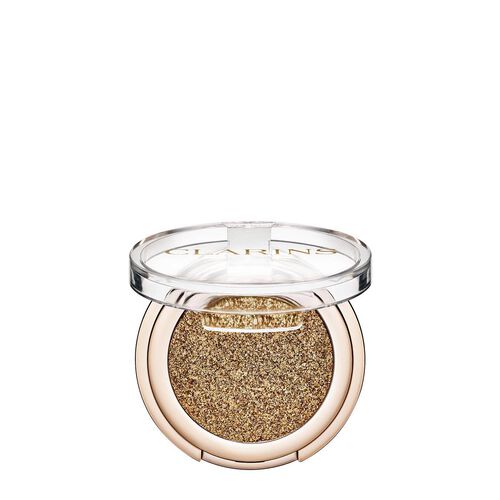
Tip: For extra special occasions, add a pop of colour to the midsection of your eye with gorgeous shades from the Ombre Sparkle range.
3. Line the eyes
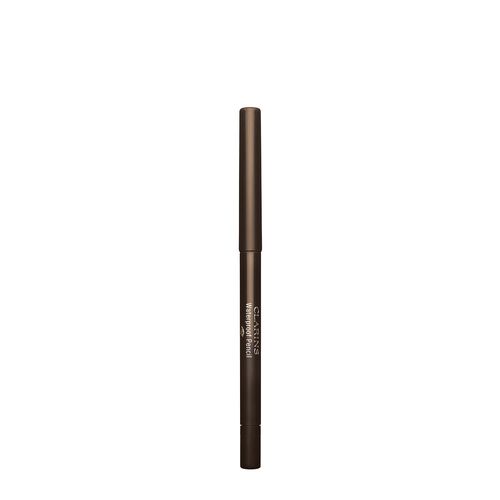
No eyeshadow look would be complete without applying eyeliner. Many are plagued by the question of how to apply eyeliner. As with eyeshadow, it depends on your preference and your eye shape. Take your Waterproof Pencil and line the eyes as close as possible to your lash line.
Tip: If preferred, add a flick at the end for a ‘cat-eye’ effect.
4. Curl the lashes
Before whipping out your favourite mascara, prep the eyelashes by giving them a good curl. Place your lashes gently between the clamps and hold it down for a few seconds. Your eyelashes should be curled and ready for mascara.
Tip: Eyelashes should always be curled to make any mascara application more effective.
5. Apply mascara
There is a more effective way to use mascara, which is to start at the bottom of the roots and slowly make your way up in a zigzag motion. This ensures equal distribution of the product, especially at the roots. Applying the product at the top would weigh your lashes down and deem any curling or mascara ineffective.
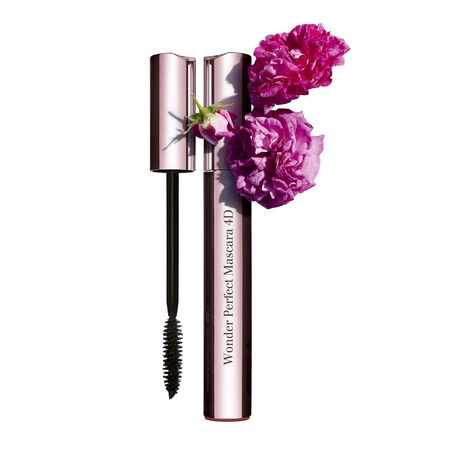
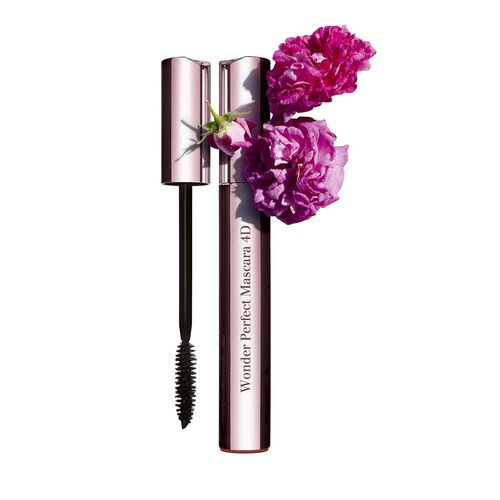
As for which mascara to choose from, it would depend on what particular effect is desired. For fuller, plumper and longer eyelashes, the Wonder Perfect Mascara would take your lashes to greater lengths – quite literally.
6. Wow with the brow
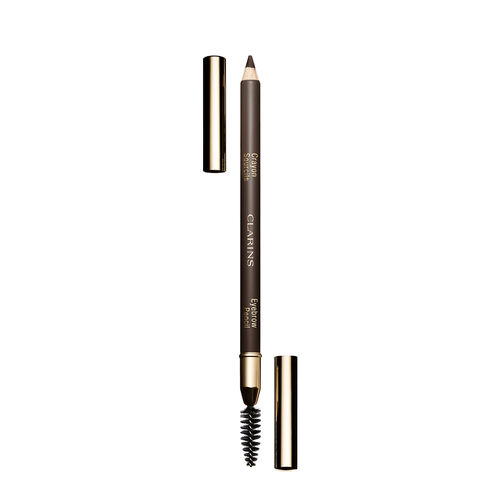
Keep things simple with a handy Eyebrow Pencil that comes with a brush at the end for you to fill in your brows and groom them.
Tip: Go for a stronger brow if your eyeshadow look is light, and tone it down if your eyeshadow look is bold and dramatic.
7. Don’t forget the aftercare
Once you have mastered the perfect eye look for every occasion, it is important that you follow through with a regime that would care for pretty peepers.
For instance, be sure to use an Instant Eye make-up Remover if you are constantly wearing heavy and waterproof eye make-up. If you are wary of wearing eye make-up due to sensitive eyes, a Gentle Eye Make-Up would help solve this concern.
As an aftercare routine, apply eye masks at home to revive tired-looking eyes. A cooling cream-gel hydrating eye mask such as the Hydra-Essentiel Moisturizing Reviving Eye Mask delivers a rested effect on the eyes, and it can be used either as a 10-minute eye mask or as an all-night-long application while you sleep.
Tip: When removing eye make-up, don’t tug. Instead, rub the product gently until the product comes off. The same applies to eye creams - don’t tug the skin around your eyes, but lightly tap the product on with your ring finger until it is absorbed.

